The Unvarnished Geek
Making Tech Sane Again
Project maintained by UnvarnishedGeek Hosted on GitHub Pages — Theme by mattgraham
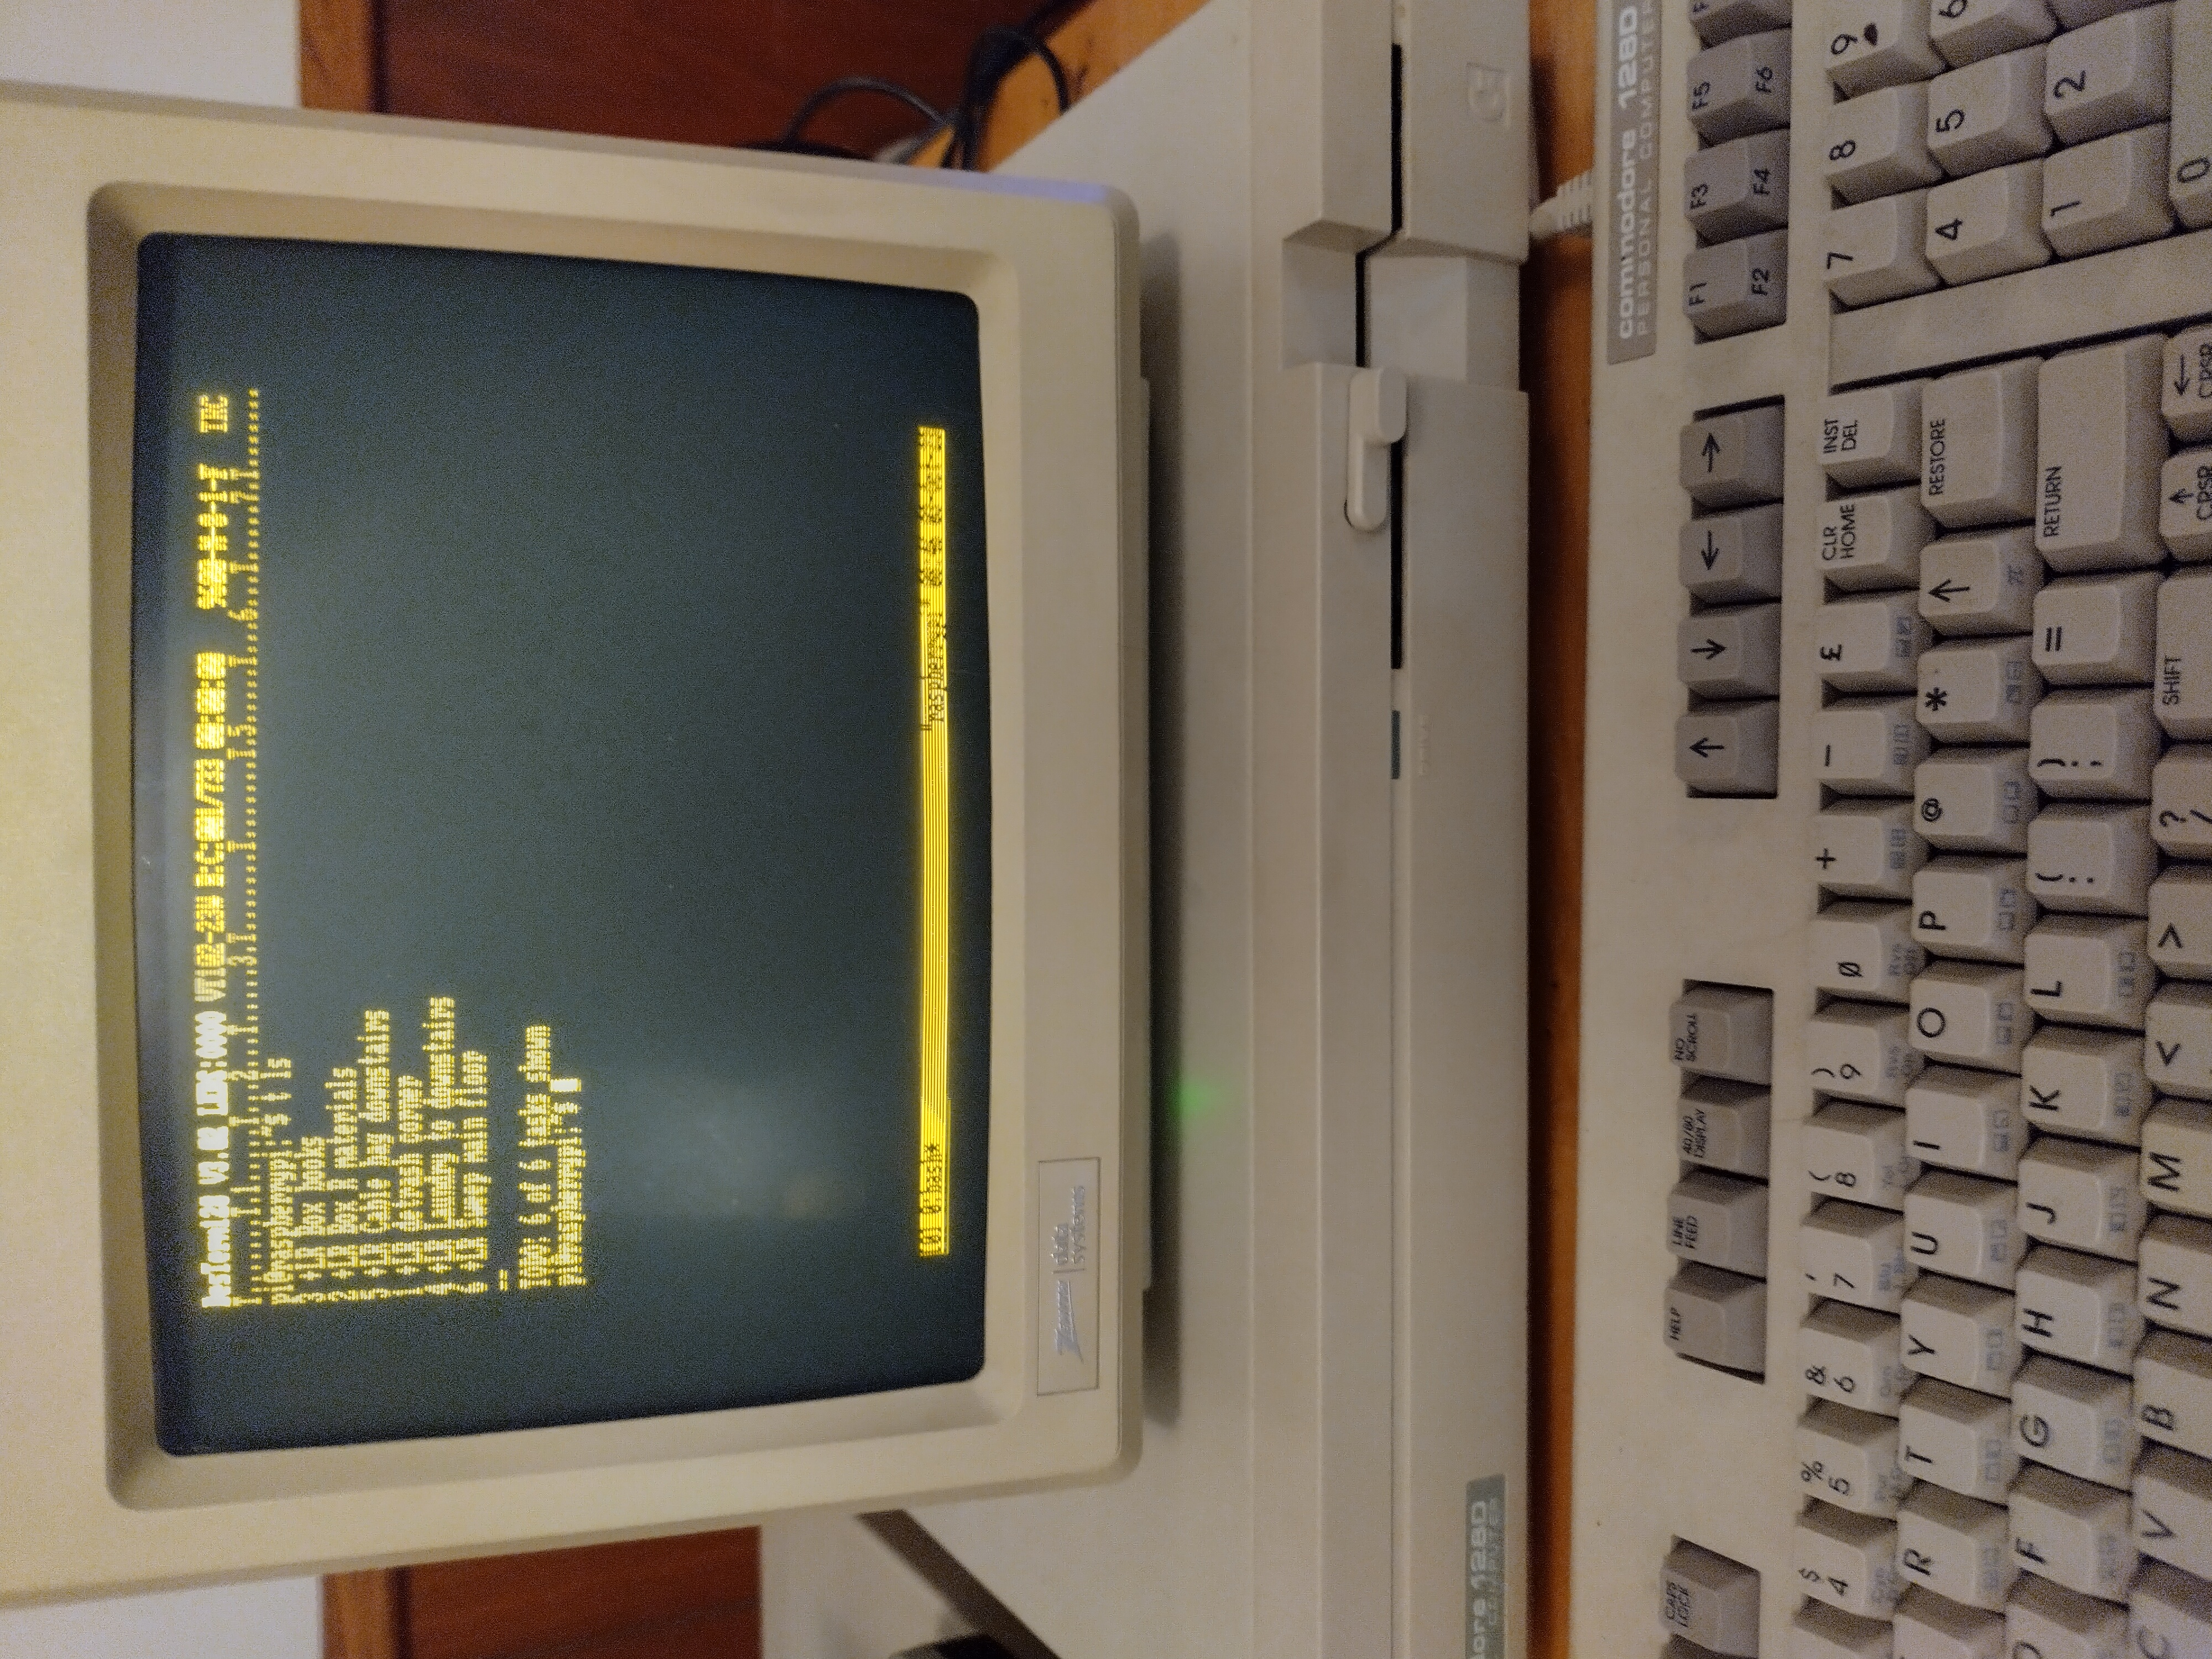
Using A Commodore 128D as a Linux Terminal
One of the things I enjoy doing with my vintage Commodore computers is finding ways to move past the purely nostalgic activities (gaming, etc.) and use them for real work. I’ve already described my method for running Wordstar locally in CP/M mode, but my most frequent way of doing productive work on my Commodore is setting it up to function as a modern Linux terminal. I use it this way quite a bit, mostly for writing and blogging (using Vim), but also for things like managing my to do list (with todo.txt), checking email (with mutt) and, well, just about anything else one might need or want to do in a terminal. I often leave my 128 set up as such a terminal during the day, switching to it whenever I want to do any kind of terminal-based work.
I’m sure most of those who read a blog like this already know how to set this up, or are capable of figuring it out. Nevertheless, I thought I’d document my setup and method here, if for no other reason than to help others avoid the time I spent in trial-and-error.
What I Use:
- My Commodore 128Dcr
- A wifi modem (there are a number of different versions of this available via ebay and other sites for reasonable cost; my personal choice is this one made by commodore4ever)
- A terminal program able to take advantage of the C128’s 80-column mode. Personally, I’ve had the best luck with DesTerm 128
- A Raspberry Pi 3 running the standard Raspian OS. Of course, one can connect to any Linux box running on your LAN. I just like having a dedicated Linux machine for this purpose.
The Steps
- Set up the wifi modem according to the maker’s instructions and connect to your LAN (instructions for the commodore4ever modem are included in the link given above)
- Power on the 128, insert your DesTerm disk, and boot Desterm using “LOAD “DESBOOT”,8”
- Once DesTerm has booted, pull up the menu by hitting CONTROL+RUN/STOP simultaneously. Select “Protocol Settings,” then “Flow Control,” and then “None”
- ESC out of the menu. You should get a connection message from your modem.
- Use the comman “atc1” to verify that you’re connected to your wifi network (note: you may sometimes need to do this more than once if you get an error message)
- Once you’ve verified the wifi connection, set Desterm to VT102 emulation: CONTROL-RUN/STOP again to bring up the menu, then “File Settings,” “Load Emulation Program,” then select “vt102.emu”
- Once back in the terminal, use the command “atnet1” to enable telnet
- Use “at$sb=9600” to set the modem to 9600 baud mode
- Set DesTerm to its 9600 baud mode by using CONTROL-RUN/STOP, selecting “Protocol Settings,” then “Baud Rate,” then “9600”. Use ESC to escape out of the menu and go back to the terminal.
- Finally, in the terminal, type “atdt” followed by the local ip address of the linux box you wish to access. You should then the prompted to log in to your linux machine with the usual username and password
That should do it! You should be up and running, ready to do anything you do in the Linux terminal, right from your 128! I’ve even successfully used Tmux with this to create a multi-pane environment, which I sometimes use simply the terminal as a sort of “heads up” display with frequently-consulted information, such as the time, my to do list, and current notes (note: the divider lines between windows display as characters rather than lines, so it’s not quite as slick as Tmux on your regular Linux box, but it does work!).
Give it a try! I’m happy to answer questions or help troubleshoot, and, as always, am open to suggestions about improving the setup or method here. Just let me know in the comments!
Comments powered by Talkyard.